Unleash Your Inner Text Artist: A Guide to ASCII Drawing with Python
Discover the art of text-based creativity – learn how to transform simple characters into stunning visual masterpieces with Python and ASCII art.

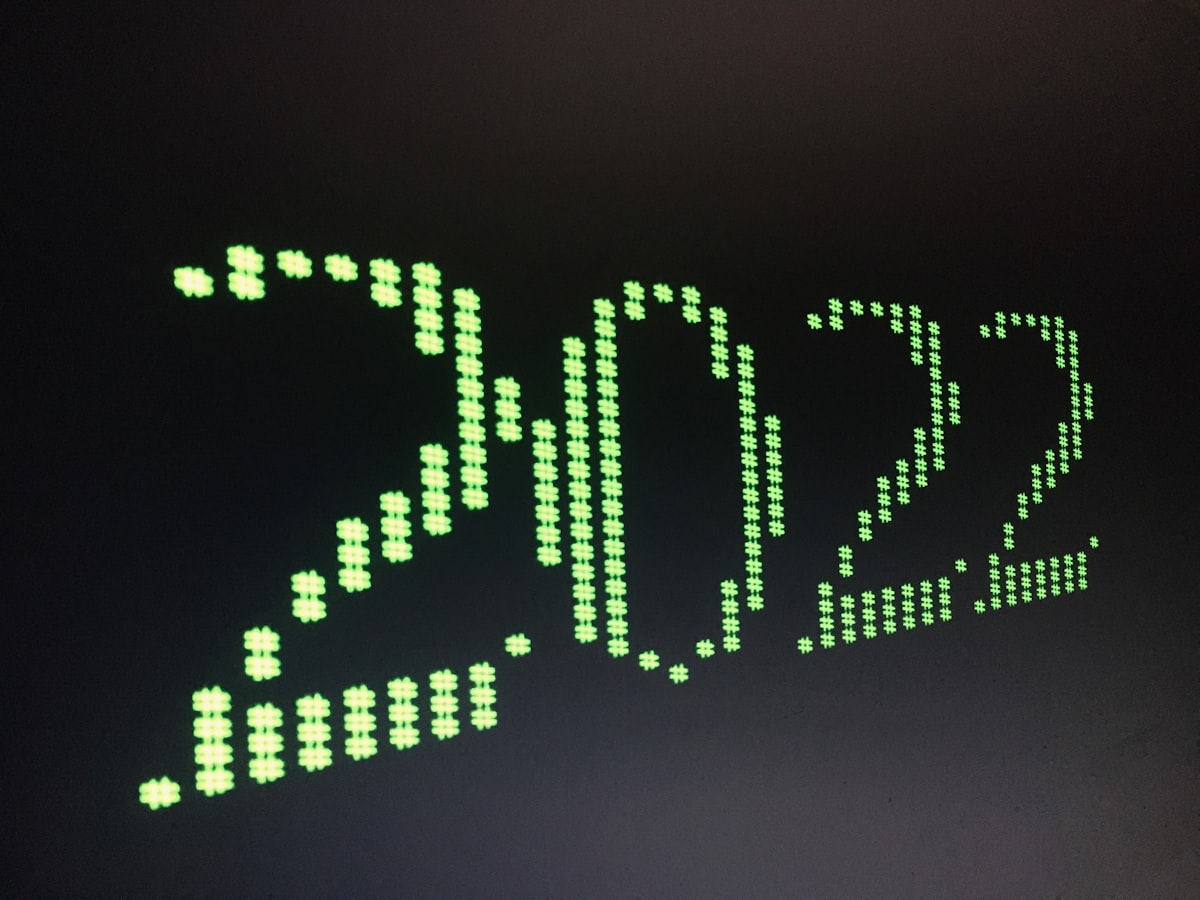
Forget complex graphics software – sometimes, the most captivating visuals can be crafted with the simplest of tools: your keyboard! Discover the surprisingly expressive world of ASCII art, where letters, numbers, and punctuation marks transform into stunning images. In this guide, we'll harness the power of Python to explore the techniques behind ASCII art creation and empower you to bring your own textual masterpieces to life.
The Basics of ASCII
When we think of computer graphics, we usually imagine high-resolution images, complex 3D models, and vibrant colors. But the foundation of how computers represent visuals is surprisingly simple: text. At the heart of this lies ASCII, the American Standard Code for Information Interchange.
- What is ASCII? ASCII is a system for representing text characters as numbers. This standardized mapping means that when you press the 'A' key on your keyboard, your computer understands it as the number 65. It includes letters (both uppercase and lowercase), numbers 0-9, basic punctuation, and control characters.
- ASCII as Art: The beauty of ASCII art lies in harnessing the inherent visual qualities of these standard characters. Some are dense and dark, others light and sparse. They have lines, curves, and varying shapes – the building blocks for creating images.
Python: The Perfect Tool
Python, with its straightforward approach to text and string manipulation, is an ideal choice for venturing into the world of ASCII art. Let's see how with a simple example:
print(" * * ")
print("*   *")
print("*****")
This tiny piece of code would output the following:
 * *
*   *
*****
A rudimentary start, but it demonstrates the core concept – using text to craft a simple shape!
Important Note: The full traditional ASCII table has only 128 characters. However, modern computers often use Unicode character sets, vastly expanding the potential symbols available.
Building Blocks of ASCII Art
Mastering ASCII art lies in understanding the visual potential of each character on your keyboard.expand_more Let's break this down into two key aspects:
1. Character Density
Density refers to how much 'filled' space a character takes up.exclamation This is key for creating the illusion of light and shadow:
- Light: Spaces ( ), periods (.), commas (,), apostrophes ('), etc.
- Medium: Colons (:), semicolons (;), letters like 'l', 'i', or lowercase 'o'.
- Dark: At symbols (@), capital 'W' or 'M', the number 8, percentage signs (%), and many more.
2. Shapes and Lines
Specific characters offer inherently suggestive shapes that are invaluable tools for your ASCII creations:
- Lines: Hyphens (-), underscores (_), forward and backslashes (/ )
- Curves: Parentheses ( ), square brackets ([ ]), curly braces ({ })
- Angles: Less than and greater than symbols (< >)
Experimenting with Python
Let's write a fun Python function to demonstrate these concepts:
def ascii_density_sampler():
    light = " .,'`"
    medium = ":oO0$#+?"
    dark = "@MW&%*B8"
    for row in [light, medium, dark]:
        print(row * 5) # Repeat the characters for visual effect
Example: Turning Words into ASCII
Let's take this further with a challenge! Here's a function that creates a simple 'bubble' effect around a word:
def bubble_word(word):
   top_bottom = "*" * (len(word) + 4)
   print(top_bottom)
   print("* " + word + " *")
   print(top_bottom)

bubble_word("HELLO")
Absolutely! Let's move on to section 3, where we'll tackle the conversion of real-world images into ASCII art.
3. From Images to ASCII Art
So far, we've built shapes manually. Now, let's bring real-world images into the equation! The core steps involve:
- Grayscale Conversion: Images are composed of colors, but ASCII art primarily works with shades of gray. We need to convert any image into a grayscale representation.
- Brightness Mapping: Analyze the grayscale image and decide how to map its various brightness levels to the range of ASCII characters you've chosen.
- Resizing Considerations: The final size of your ASCII art matters! Resizing images impacts the level of detail you can retain while using the limited 'pixels' of text characters.
Python in Action: Grayscale Conversion
For image manipulation, we'll use a helpful library like Pillow (PIL). Install it with pip install Pillow. Here's a code snippet:
from PIL import Image

def grayscale_image(image_path):
    image = Image.open(image_path).convert('L')  # 'L' mode for grayscale
    return image

my_image = grayscale_image("path/to/your/image.jpg")
Brightness Mapping
Let's write a basic function to map pixel brightness (values 0-255) to our chosen characters:
def brightness_to_ascii(brightness_value):
    characters = " .,:oO#@"  # Our sample character range
    step_size = 255 // len(characters)
    index = brightness_value // step_size
    return characters[index]
Note: This is a simplified mapping. More sophisticated ASCII art generation often uses non-linear mapping to better represent the visual nuances of an image.
Absolutely! Let's extend section 4, providing more detail on dithering, complete with a longer Python example and a deeper look at negative space.
Advanced Techniques
Let's take your ASCII creations to the next level! Here, we'll delve into dithering and the strategic use of negative space to achieve more visually compelling results.
Dithering: Illusion of Gradients
Our character palette is limited, making smooth transitions between light and dark tricky. Dithering offers a solution, strategically placing different ASCII characters to simulate gradients and a broader tonal range.
The Floyd-Steinberg Algorithm
One of the most popular dithering algorithms, Floyd-Steinberg, excels in creating this visual illusion. Here's a breakdown of its principles and a more comprehensive Python implementation:
from PIL import Image

def floyd_steinberg_dither(image):
    width, height = image.size
    for y in range(height):
        for x in range(width):
            old_pixel = image.getpixel((x, y))
            new_pixel = brightness_to_ascii(old_pixel)
            image.putpixel((x, y), new_pixel)
            error = old_pixel - new_pixel
            if x < width - 1:
                image.putpixel((x + 1, y), image.getpixel((x + 1, y)) + error * 7 // 16)
            if y < height - 1:
                if x > 0:
                    image.putpixel((x - 1, y + 1), image.getpixel((x - 1, y + 1)) + error * 3 // 16)
                image.putpixel((x, y + 1), image.getpixel((x, y + 1)) + error * 5 // 16)
                if x < width - 1:
                    image.putpixel((x + 1, y + 1), image.getpixel((x + 1, y + 1)) + error // 16)

# ... (Load your grayscale image using the grayscale_image function from earlier)
floyd_steinberg_dither(my_image)
my_image.show() # Assuming you want a preview
Explanation
- We iterate over each pixel of our grayscale image.
brightness_to_ascii(our previous function) chooses the closest matching ASCII character.- The crucial part: We calculate the error (difference between the original brightness and the chosen character's). This error is not discarded but strategically distributed to surrounding pixels, influencing their future conversions.
Absolutely! Let's expand on the concept of negative space within ASCII art:
The Power of Negative Space
In visual mediums, negative space is the area around and between the subjects of an image. Within ASCII art, where every mark has significance, negative space becomes a powerful compositional tool. Let's explore how to use it strategically:
Selective Sparseness: Creating Depth and Contrast
- Suggestive Outlines: Instead of filling an entire shape, focus on its outline and hint at interior details with a few scattered, lighter characters. This creates depth and invites the viewer's eye to fill in the blanks.
- Highlighting Light: Areas of concentrated blank space can represent light sources. Gradual transitions into denser characters simulate shadows and form.
Framing the Void: Defining Forms
- Borders as Structure: Enclosing negative space with borders of varying density gives it definition. This helps clearly separate elements within your ASCII scene.
- Negative Space Shapes: The empty area itself can become a shape. Use surrounding characters to create its contours – think the space between fingers of a hand or the silhouette of an object against a background.
Example: Enhancing a Simple Shape
Let's revisit our basic circle drawing code and use negative space:
def draw_circle(radius):
    for y in range(-radius, radius + 1):
        for x in range(-radius, radius + 1):
            if x*x + y*y <= radius*radius:  # Check if within circle
                if x*x + y*y <= (radius - 1) * (radius - 1):  # Inner empty area
                    print(" ", end='')
                else:
                    print("*", end='')
        print()  # Newline
Now our circle has a sense of hollowness, making it more visually interesting!
Negative Space as a Creative Tool
Don't think of negative space as 'empty'. Treat it as another element in your toolkit. Experiment with how it interacts with the density and patterns of your chosen characters.
Real-World Applications
Retro-style Games
The Concept
Let's build a basic roguelike-inspired mini-adventure where the player explores a simple ASCII dungeon and encounters a foe!
Building Blocks
- ASCII Environment:
- Design symbols: Player (
@), walls (#), empty floor (.), treasure ($), enemy (X) - Simple level generation: Create a grid-like map (a list of lists would work well)
- Design symbols: Player (
- Player Movement:
- Use keyboard input (
input()or libraries likegetchfor non-blocking input) - Check for collisions (don't let the player move through walls)
- Use keyboard input (
- Game Logic:
- Place treasure randomly on the map.
- A simple enemy that moves towards the player.
- 'Win' condition when the player reaches the treasure.
- 'Lose' condition if the enemy catches the player.
Python Outline (Simplified)
level = [
    ["#","#","#","#"],
    ["#"," ","$","#"],
    ["#"," ","X","#"],
    ["#","#","#","#"],
]

def draw_map():
    for row in level:
        print("".join(row))

def move_player(direction):
    # ... Implement movement logic, collision checks, etc.

# Main Game Loop
player_found_treasure = False
while not player_found_treasure:
    draw_map()
    move = input("Where to move? (WASD): ").lower()
    move_player(move)
    # ... Add enemy movement logic, win/lose checks
Challenges and Expansions
- Refinement: Add smoother gameplay, more interesting enemy behaviors, and varied level design.
- Items: Introduce potions, weapons, or obstacles.
- Storytelling: Even with minimal text, create a sense of narrative.
Note: This is a very basic framework to get you started!
Absolutely! Let's dive into how you can spice up your command-line tools or scripts with the power of ASCII art.
Command-line Flair
1. Attention-Grabbing Banners
- Tool Titles: Instead of plain text, start your tool's output with a stylized ASCII banner of its name. The
Pyfigletlibrary is perfect for this.
import pyfiglet
print(pyfiglet.figlet_format("My Tool", font="slant"))
- Section Headers: Within your tool's output, break up different sections with smaller ASCII art headers or dividers.
2. Visual Progress Indicators
- Loading Bars: Like in the previous example, create dynamic progress bars filled with ASCII characters.
- Creative Spinners: For simple waiting periods, use characters like
|/-\in a loop to create a sense of ongoing activity.
3. Error Messages with Personality
- Beyond Red Text: Serious errors still need clarity, but consider adding a touch of ASCII flair next to the message. A simple 'X' drawn in characters can be more visually distinct than plain text.
- Humor (If Appropriate): For minor warnings or recoverable issues, a bit of lighthearted ASCII art can soften the blow.
Example: Command Not Found
def command_not_found(command_name):
    print("Oops! Command not recognized:")
    print(" /¯\\")
    print("/__/")
    print(f"'{command_name}' not found. Did you mean something else?")
Things to Consider
- Target Audience: Is your tool for fellow programmers (who might appreciate the humor), or should it be universally understandable?
- Don't Overdo It: Too much ASCII flair can become distracting. Aim for tasteful accents rather than a constant visual overload.
Absolutely! Let's explore how to create eye-catching text logos and banners using ASCII art.
Text Logos and Banners
1. Manual Design
- Text Editors: For simple logos, open up a basic text editor. Experiment with different characters, spacing, and layering for simple designs.
- Online Generators: Several websites offer basic ASCII art generators. While limiting in customization, these are great for a quick idea or inspiration.
2. The Power of Pyfiglet
The Pyfiglet library gives you far more stylistic control:
- Installation:
pip install pyfiglet
Fonts Galore: Explore the wide range of built-in fonts:
print(pyfiglet.FigletFont.getFonts())
Change the font in your figlet_format call, e.g., font="slant".
Basic Usage:
import pyfiglet
result = pyfiglet.figlet_format("Your Banner Text")
print(result)
Customization
- Stacking Text: Combine multiple
figlet_formatoutputs to create multi-line banners. - Beyond Pyfiglet: For precise control, draw characters within your Python code, offering the most flexibility but requiring more manual work.
Example: Multi-line Banner
import pyfiglet
title = pyfiglet.figlet_format("ASCII Art Studio", font="big")
subtitle = "Craft Your Textual Masterpieces"  # Plain text for contrast
print(title)
print(subtitle)
Tips
- Negative Space: Remember those concepts! Use blank areas strategically within your banners.
- Visual Hierarchy: Vary character density and font choices to give different parts of your logo emphasis.
- Theme: If the logo is for a tool or project, try incorporating ASCII symbols that relate to its function.
Further Exploration
Your ASCII art journey doesn't end here! Let's look at where to find advanced techniques, like-minded creators, and more tools.
1. Expanding Your Technique
- ANSI Escape Codes: If compatibility allows, introduce color to your ASCII art using terminal control codes. These are sequences that instruct the terminal to change colors. (https://en.wikipedia.org/wiki/ANSI_escape_code)
- Alternative Libraries: While we focused on Pillow for image manipulation, explore others like OpenCV (especially for its edge detection features, useful for stylized conversions).
- Block Characters: Modern Unicode goes beyond standard ASCII. Explore block characters (like █ ▓ ░) for denser shading possibilities.
2. Finding Communities
- Reddit: Subreddits like r/ASCIIArt are great for showcasing your work, getting feedback, and discovering new tricks.
- Dedicated Websites: Sites like [invalid URL removed] feature massive collections of art, tutorials, and forums.
- Game Development Communities: If retro game creation is your interest, many game development communities have sections dedicated to ASCII art and text-mode graphics.
3. Tools to Aid Your Workflow
- Advanced Text Editors: Editors designed for code (like VS Code, Atom, or Sublime Text) often provide excellent text manipulation features and customization, essential for larger ASCII projects.
- Dedicated ASCII Art Editors: Specialized tools exist, offering real-time previews, convenient character palettes, and features specifically geared towards ASCII art creation.
Conclusion
Throughout this journey, we've rediscovered the surprising power of text as an artistic medium. ASCII art, with its blend of technical and creative challenges, reminds us that limitations can be the birthplace of ingenuity. Python, with its text-friendly nature, has been the perfect tool to help us realize our text-based visions.
Whether you were drawn by nostalgia, a love for algorithmic art, or the desire to add a unique touch to your projects, I hope you've unlocked a newfound appreciation for ASCII art. Don't be afraid to experiment, push the boundaries of characters, and most importantly, have fun expressing yourself through the humble keyboard!
- Share your Creations: Join online communities to showcase your work and be inspired by others.
- Keep Experimenting: Explore advanced techniques, incorporate color, or try your hand at ASCII animation.
- Unexpected Projects: Find new ways to sprinkle ASCII flair into your coding projects, even in small, unexpected ways.


